So the craft of the week this week comes from the wise and slightly evil Martha. I get e-news from her regularly and I LOVED this craft so I had to show you!! I would have taken pictures of myself doing this but their pictures are much prettier.
Hardware Handbag (be aware that the stuff in brackets is my own opinion;)

Tools and Materials:
- four small hinges
- canvas bag with handles(find fun canvas material to make it prettier)
- needle and thread to match
- pencil or pen
- masking tape
- craft knife(like an exacto)
- fabric glue
skinny belt(I found mine at superstore!)
- small lock (dollarama baby!)
spray paint (optional)
How-To
1. Open hinges and stitch each to bag, directly below where each handle end is secured. Reinforce by going through hinge holes several times with thread.
2. Turn bag inside out. Mark two points on each side of bag: 3 inches from top of bag and 1 inch from each side of seam. Place a piece of masking tape over each point. With a craft knife, cut iniform Xs over each point, with the height of each X slightly taller than the width of the belt you intend to use.
3. Fold back the points created by each X, and glue to the inside of bag with fabric glue.
4. Loop belt through the four holes, and buckle. Attach lock to belt. (Tip: if you want to, you can spray paint your lock a fun color to match)
Now, if this is confusing to you, or you're like me and need visuals, feel free to go on the marthastewart.com website and search "hardware handbag" to watch a video of how to make this. I will be posting pictures of the one that I made ASAP. Hope it inspires you!


 Next weave your strips of chip bags inbetween the duct tape frame. Across first, then up and down.
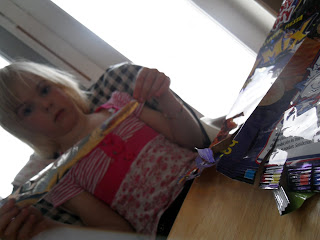 She enjoyed herself a bit more then it looks like in this picture!
 Trim off the excess and duct tape the sides to give it a nice finished edge